Challah Braided Bread (and variations…)

When my sisters and I were kids, my mom used to make us this delicious braided bread during our final exams. She’d put different fillings in each strand of the braid for each of us. It was so wonderful to sit at the dinner table and smell fresh bread baking in the bread machine while studying. Everything was wonderful except for the actual studying part, of course. Anyway, a few weeks back I went on a bread-making kick (read: I decided I need to start studying for the GRE, which of course meant I needed a new obsession). These are just some of my Challah-related creations, including one that is braided with different fillings in each strand.

Here is a three strand, simple braided bread:

bread4

With filling, of course – Danish cheese and delicious berry jam that my sister made.

bread3

I was super happy with how gloriously easy it is to make impressive looking bread by braiding it. Way easier than getting my hair to stay in a simple three strand braid. Which of course prompted me to immediately make another loaf of bread, this time with four strands.

bread

Of course, I make the dough before checking to see what fillings I’d be able to muster up without venturing out into the cold outdoors (yay, Chicago!). After surveying the deepest darkest corners of both my cupboards and my fridge, I decide to just keep it simple… no fillings! Which then prompted french bread for breakfast the next morning…

bread2

Pictured here with thick cut bacon. Just because.

Here is the basic recipe I used to make the Challah.

Happy baking!

Why I make my own Japanese Curry Roux (and you should too!)

Japanese curry is one of my favorite comfort foods – growing up, my Mom often prepared it for me and my sisters. Recently, I’ve been battling with pre-packaged and readily prepared foods. Everything from frozen dinners to curry roux boxes. I have super mixed feelings about it. On the one hand I love how easy it is, how quickly dinner can be prepared, how great it is to not need to plan out my meals for the whole week. On the other hand I am really quite terrified of all the unpronounceable ingredients. What in the world is that stuff?! Plus, nothing beats a home cooked meal. Anyway, all this led to my decision to make my own curry roux.

Just for comparison’s sake, I have compiled ingredients that go into pre-made curry roux vs. ingredients that go into homemade curry roux.

Premade (S&B Golden Curry Sauce Mix):
wheat flour, edible oil (palm oil, canola oil), salt, sugar, curry powder, spices, colour: E150a, MSG, malic acid, disodium guanylate, disodium inosinate.

Homemade:
flour, ghee, curry powder, garam masala, chili powder, salt

I didn’t do well in high school chemistry, but those last two ingredients sound pretty scary to me. Not sure what it is, but it’s definitely not something I regularly add to my food at home!

Making the roux was actually really simple!

Ingredients:
3 tablespoons ghee or butter (use butter if you want to make roux blocks, because it will solidify better!)
1/4 c. flour
1 tablespoon curry powder
1 tablespoon garam masala
1 teaspoon cumin powder*
1 teaspoon ginger powder *
1 teaspoon chili powder (kenneth likes his curry spicy! add less for a milder curry)

*optional – I added extra because I love a bolder taste. Cumin and ginger powder should already be in your curry powder and garam masala mixes!

Directions:
Heat up butter over medium heat in pot. Add in flour and stir! Stir vigorously to ensure the bottom does not burn! After about 10 minutes the roux should turn a little bit brown. At this point, add in spices – stir to combine.

To make your curry, just follow the instructions that come on the box, but replace the roux with your homemade one! Stay tuned for step by step instructions for curry rice!

IMG_0199IMG_0200 IMG_0201
Stir roux vigorously!

IMG_0203
Finished product!


Days 5 – 10 (Saag Mushroom)

Dear all,

I apologize for the absence. When I started the cleanse, I did not realize how life would get so crazy. I actually sat down and looked at my calendar and thought about when the most appropriate time for a cleanse would be… and of course life went and screwed things up. But the past is in the past now! I have officially finished the cleanse and I feel great! 

The last 5 days were definitely more of a struggle for me than the first five. I felt much more low-energy and going to the gym became much more of a struggle. I also caught a slight cold, so there’s no telling whether my exhaustion was due to my cold, the cleanse, or the lemons I’ve been making lemonade out of. 

Now, let’s talk results!

Over the course of the cleanse, I lost a little less than 6 pounds, dropping from around 108 to 102 lbs. I’ve never been much for sodas or unhealthy and sugary teas, so that was never a problem for me, but I have cut down my coffee drinking to one cup a day. I find myself reaching for water much more than I used to — which is great, because that means the weight I lost was most likely not water weight! Overall, I noticed that I suffered from fewer headaches than usual… which really is a huge plus for me. My goal now is to maintain my current weight by eating more normally (hello, eggs! I’ve missed your presence in my life…) and continuing my gym-going! This means Meatless Mondays and 6 to 8 oz of meat or tofu on other days. I’m excited! I hope to extend my healthy eating habits for as long as possible (BUT I LOVE FOOD!) so we will see how that goes.


On day 7 I was so hungry and I missed warm, cooked, and satisfying food a lot. After looking at the list of foods I was allowed to eat for a while, I realized something awesome: I can have Saag! 

After researching for a bit, I decided to follow this recipe from edible garden. Her recipe is so simple to follow and so easy. Since I can’t have paneer, I substituted with Mushrooms and opted out of all the cream/butter options. 

Image


I know it might not look super appetizing, but I love Indian food. This is a curry made primarily with spinach. It really is quite delicious! Image

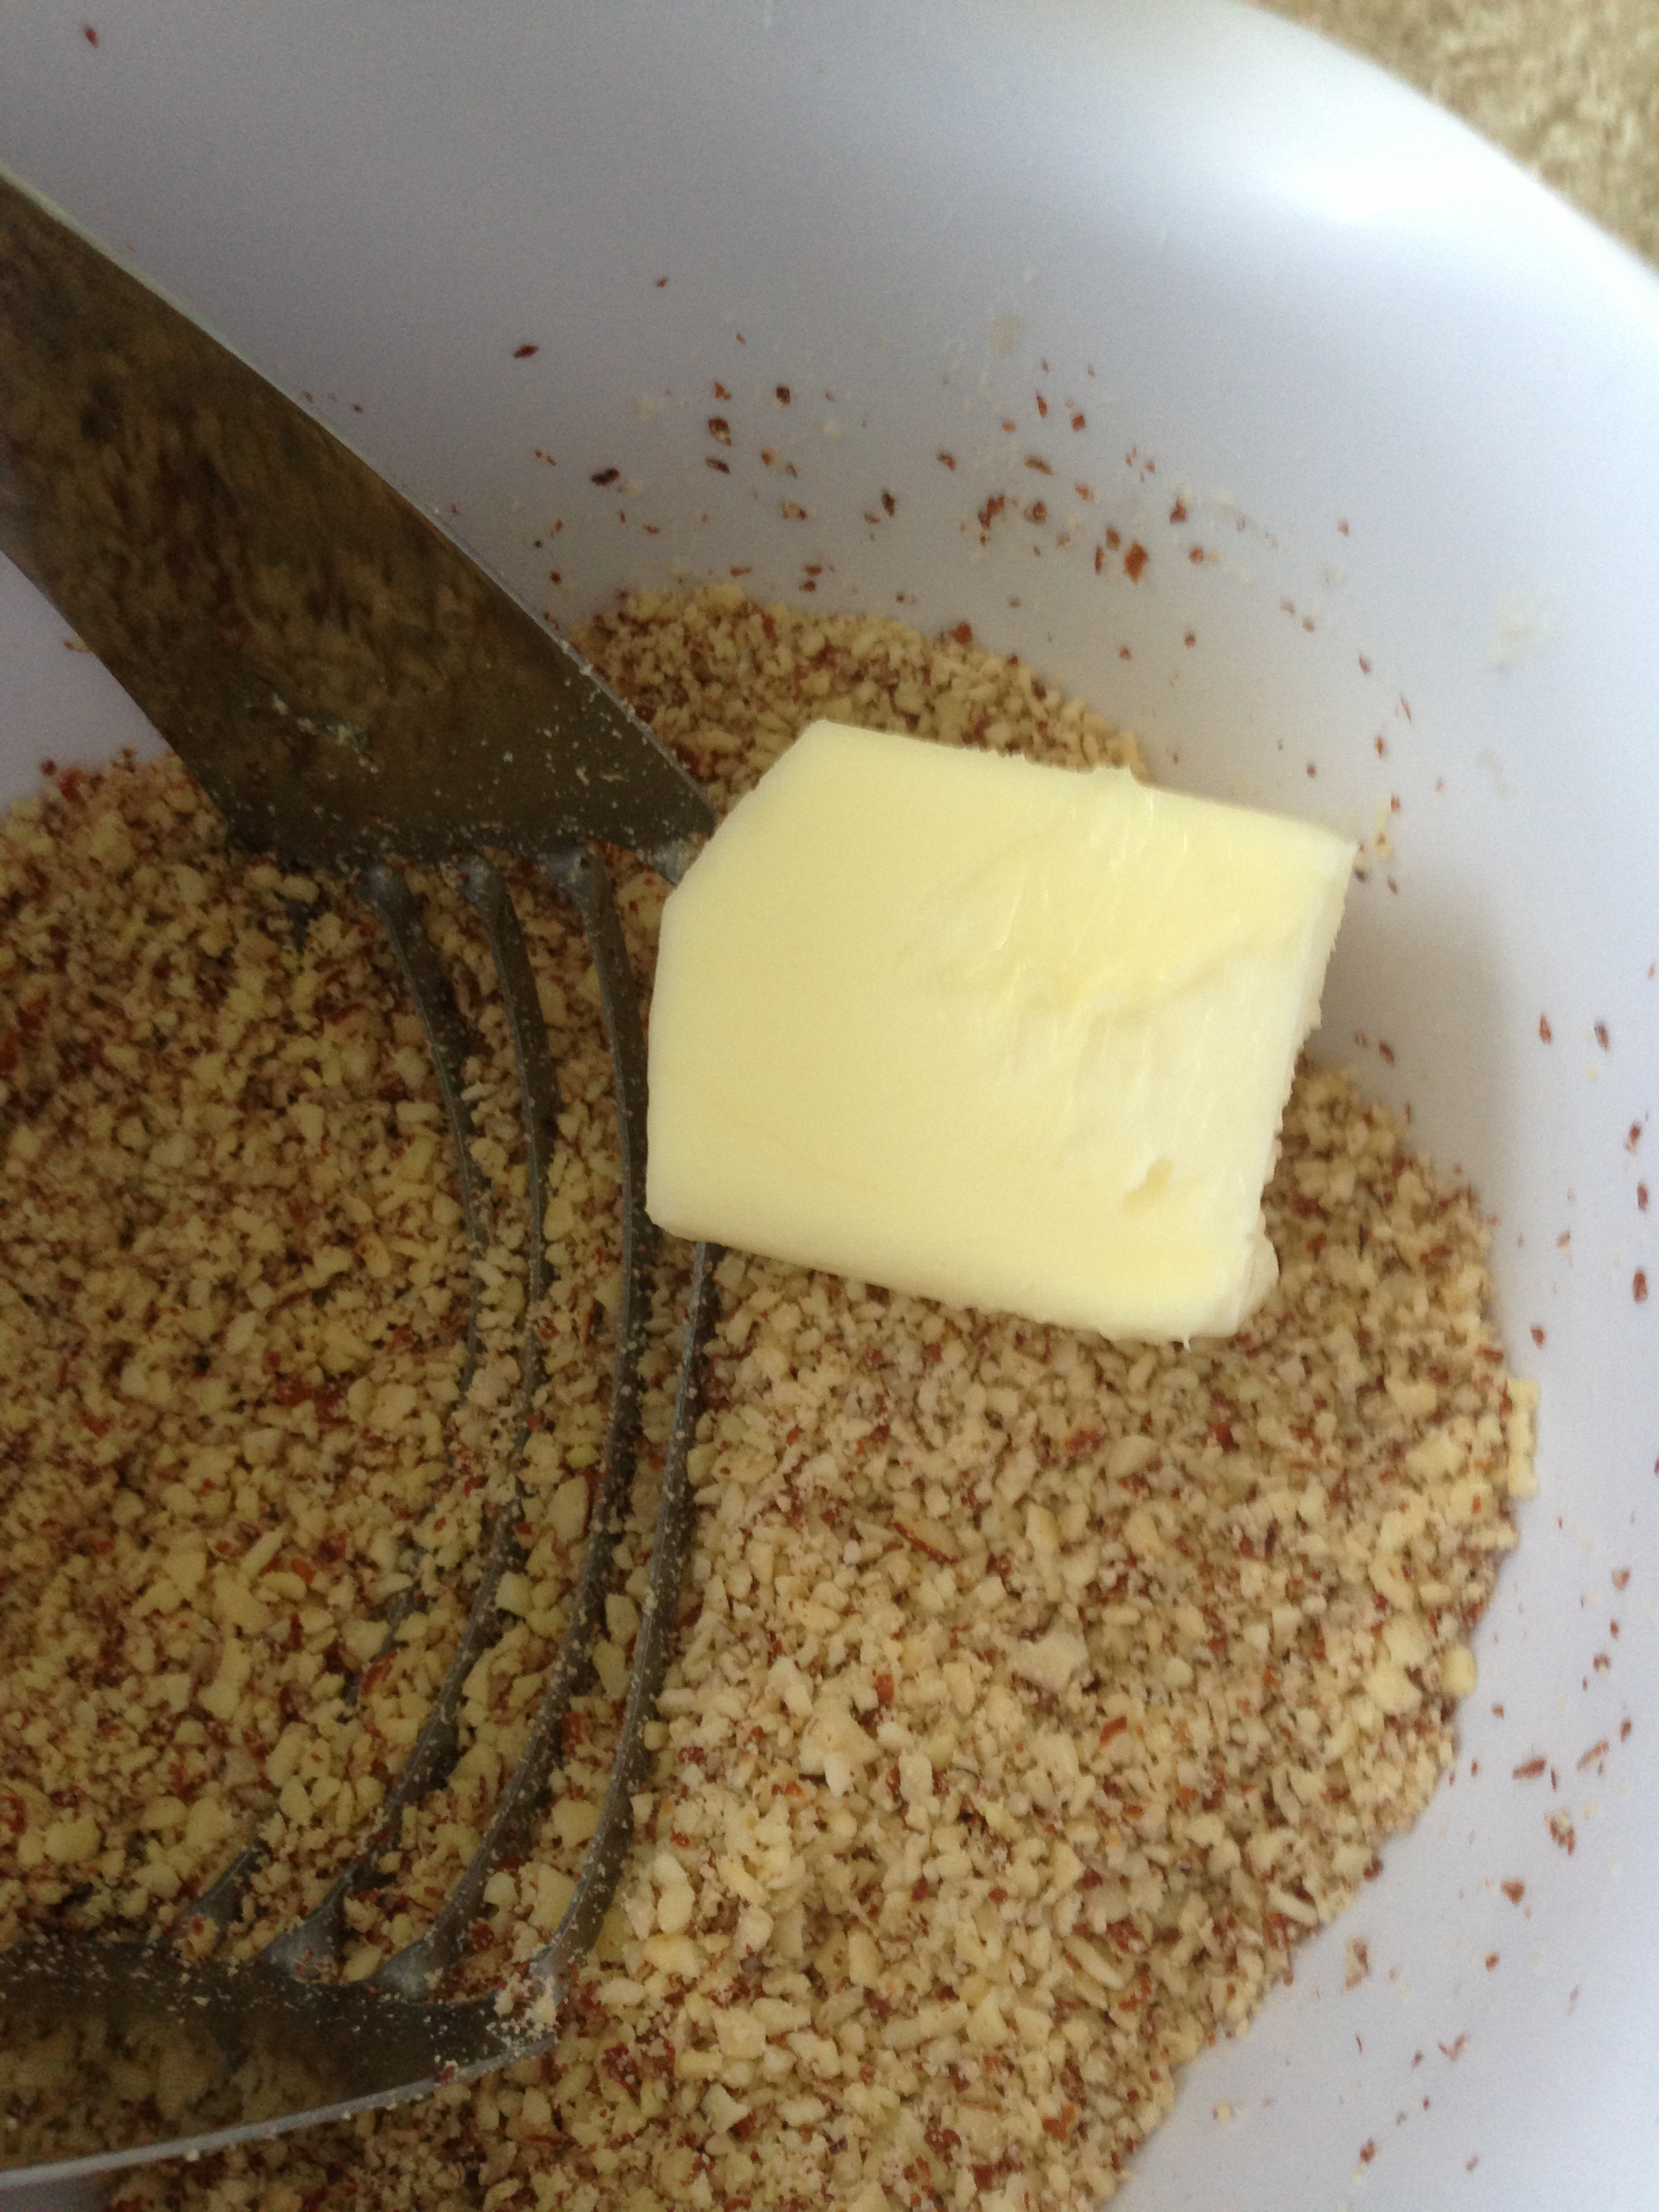
Here is a blend of cumin powder, coriander powder, garam masala, turmeric powder, ginger powder, garlic powder, and red chili powder. It just looks so bright and beautiful! and the apartment smelled wonderful for the rest of the weekend. I know I’m supposed to use freshly ground herbs and spices and it makes a huge difference, but I didn’t have most of the spices needed… so I cheated and used the pre-ground spices. It was still delicious!

Image

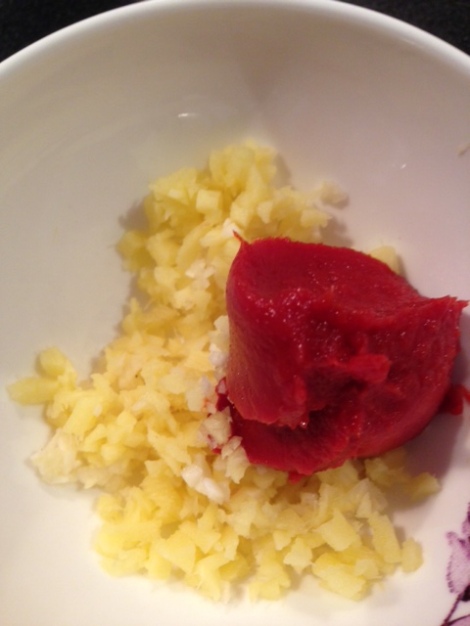
Minced ginger, garlic, and tomato paste!

Image

Almost finished product… yummy! I can’t even tell you how good it smelled. It was hard to resist excessive tasting.

Image


Add in mushrooms, close the lid, simmer, and serve. 

It was so delicious! The best part is that it was that Ken could eat it too, even on keto! I think the most challenging part about the cleanse for me was that it was hard to find common ground… My diet consisted of mostly fruits and veggies, and his was mostly meats, protein, and very limited veggies (basically mushroom, broccoli, and leafy greens). Absolutely no fruits (too much sugar, too many carbs!) Now that I am finished with my cleanse, I am super excited to remake this with the cream and the yogurt. I think it will prove to be a much more rounded! 


Enjoy! 

Day 3 & 4 (Zesty Cinnamon Apples)

Days 3 and 4 are over! 

I must confess, I did not go to the gym on Wednesday. I think my body just needed some time to recuperate and adjust to living off of fewer calories. After my run on Tuesday, I was SO sore and my body just hurt everywhere. I also experienced some dizziness and overall fatigue, so I decided to go easy and take a break. I was back on my feet on Thursday and ran my usual 5k with no problem! 

In terms of the eating portion of the cleanse, things have been going well. I have been feeling a little bit bloated, but that is apparently not that strange on this cleanse. Actually, I woke up (on day 5) feeling significantly less bloated and uncomfortable than I did the previous 4 days, so that’s good! Maybe my body was just adjusting to the sudden change in my diet. 

Here’s something I made to help battle my sweet tooth (and to celebrate pi day the best I can on the cleanse):

:Image


All I did was chop up 2 apples, zest some lemons and limes, measure 2 tablespoons of orange juice, throw all of these things in a pot with some water and season with a copious amount of cinnamon. Then I cooked on low heat for about 45 minutes… It’s actually quite delicious! It’s a crustless apple pie. (Although I must say I miss the crust…)

Cheers to day 5! 


Day 2 (Garlic Zucchini Noodles with Mushrooms and Carrots)

Day 2 is over! I found the diet portion of day 2 to be easier than day 1, but the exercise portion to be much harder. I was already sore from running 3 miles on Monday, so the first half of my run yesterday was exhausting… but all in all, it wasn’t awful and it’s all for a good cause! 2 down, 8 to go!

What I had for dinner:

Garlic zucchini noodles with mushrooms and carrots


Image

Orenda 10 day cleanse

Hello, friends!

Over the next week or so, I will be writing about my experience with the 10 day orenda cleanse. You can find more about the cleanse and the company that makes the supplements here! This will be the first time I’ve ever done a cleanse of this type. The reason I am doing a cleanse is because I’ve been spiraling into some pretty unhealthy eating habits over the last few months. This happens to me every year during the winter and whenever I’m stressed. The goal is to help kickstart some healthy eating habits and hopefully drop a few pounds while doing that. I am hoping to couple this cleanse with going to the gym everyday for some cardio.

The basic rules of the cleanse/diet are pretty simple. Organic fruits and veggies are mostly ok, and three times a day I have to take supplements as instructed. My friend (and boss!) who introduced me to this cleanse was a trooper and gave up coffee too, but I am definitely not as strong as she is…I am just going to try to limit myself to 1 cup a day!

Today was day one. Not so bad! Lots of broccoli in my system right now, but it was delicious! I am heading out to the gym soon, but I’m feeling a little tired and low energy, so I think I will go easy and just run a little bit and maybe bike the rest of the time. I’ll be back with more tomorrow!

His and Her Lunchboxes

Image


His and her broccoli, chicken sausage, and shirataki noodle lunchboxes! (mine is the cuter three compartment one!) 

As much as I would love for everyone to believe that I always make super complicated, complex, and delicious foods for Ken every day, all the time, always, and without fail… that would just be a lie. Some (if not most) days just call for simpler things! This is a picture of a typical lunch/ dinner for us when Ken is doing Keto. The shirataki noodles, sometimes referred to as miracle noodles, are actually quite delicious and zero everything. Zero carbs, zero calories, zero, zero, zero! Some people think the noodles smell bad and have a weird texture, but neither of these things have ever bothered me. Make sure to rinse the noodles when they come out of the package! I usually just plop them in a pot of boiling water for about 3 to 5 minutes, set them out in a colander over a mixing bowl to drain and dry, and then mix in a few drops of sesame oil. The noodles actually pick up flavor pretty well. In this particular instance, I put in a spoonful of hot chili sauce in addition to the sesame oil. 

That’s it! I will be back with some japanese curry and healthy sesame soups.  Thanks for reading! 


Keto Cheesecake

I don’t know if I’ve mentioned that Kenneth is a health nut. Every once in a while he likes to go on a ketogenic diet. For those of you who don’t know what that means, keto is basically a super low carbohydrate diet. I love carbs. I love them so, so, very much. Needless to say, I really hate it when Kenneth goes on this diet. =P Anyway, this is from a while ago, but this is a cheesecake that is appropriate for people who are looking for a low carb dessert!

Image

The crust is made of only almonds, butter, and a little bit of cinnamon. If you have a food processor, you can throw your almonds in and pulse until all the ingredients are combined and stick together. I don’t have one, so I had to do it manually. 

Image

Image


This is whipped cream that is sweetened with stevia. It is hard to find whipped cream that is not pre-sweetened, so it is probably best to whip up some of your own! It only takes a few minutes.


 Image


Image


I have a bad habit of cooking without following very strict recipes (unless it is something super finicky, like macarons) so I can’t exactly say what I did to make this, but since there are only a few ingredients it’s really not difficult. Just make sure to taste what you’re making while you’re making it!

For the crust:

1/4 c butter
1 1/2 c almond slices or 1 c almond meal
2-3 drops stevia
dash of cinnamon

combine almond meal, butter, cinnamon, and stevia in a food processor (or by hand). Press the mixture into the bottom of the pan and bake at 375 F for about 5 minutes. Take the crust out and turn the oven up to 400 F

For the filling:

3 packages of cream cheese
4 eggs
1 tsp vanilla extract
a little bit lemon/lime juice
4 or 5 drops of stevia

Start by creaming the cream cheese! Then combine all the other ingredients, making sure to incorporate them fully without over beating. Too many bubbles in the mixture can cause your cake to crack! Pour the mixture into the crust then put it in the oven! Turn the oven down to 200F and bake until the filling is firm, but the middle still jiggles a little (about 80 min in my oven). 

If you don’t want your cake to crumble when you cut it (like mine did), wait until the cake is completely set and cooled before cutting it… I was too impatient! 

Between you and me, I prefer normal cheesecake with all the carbs in it… the graham cracker crust and the real sugar can never be replaced. However, if you or anyone else in your life is on a low carb diet, this might be the perfect treat! 

Green Tea Macarons

Hello Everyone!

I’m back! I feel I should apologize for my long absence. It’s been almost a year since my last post and I have absolutely no excuse. I’m going to try to make it back to you in the only way I know how — some awesomely baked green tea macarons! If you’d like the see how I made them, there are instructions at the bottom of this post. Otherwise, here are the pictures!

Image

Look at the awesome feet on that thing! =) Here’s a closer view:


Image

Here’s a picture of my mini totoro wishing he could eat these macarons:

Image

Image

Macarons recipes are really quite simple — It’s is almost always made of the same few ingredients with a few different variants depending on your oven, the type of nut flour you’re using…etc. That being said, macarons are really high maintenance. Everything needs to be done just right. The heat distributed just so, the whites aged just long enough, the peaks formed just high enough, just the right amount of food coloring. Really, they can be kind of a pain in the butt. I have not yet mastered the art of creating consistently perfect macarons, but when they come out nicely I always want to celebrate and share them (show off to my)with friends. My kitchen is void of fancy equipment like standup mixers (I really want one…), nice temp controlled ovens, sufficient counter space (not quite “fancy equipment” but still)… etc, So I am really here as a testament: If I can do it, so can you! 

Here’s how I made these macarons that turned out nicely this one time:

85g almond flour,
85g confectioner’s sugar (I used some boring, grocery store sugar and everything turned out just fine. There is some debate about what kind of confectioner’s sugar to use, but that’s a story for another day…)
75g granulated sugar
59g egg whites (aged for 3 days)
1/4 tsp cream of tartar
pinch of salt
3/4 tsp matcha powder
2 drops liquid green food coloring

The macarons shells were prepared exactly the way my strawberry nutella macarons were prepared. Just scroll down and see for yourself! 

For the filling**:
This is a swiss meringue buttercream with just a little bit of matcha powder
egg whites from 2 large eggs
1/3 c granulated sugar
1/8 tsp cream of tartar
2/3 c butter
pinch of salt
2 tsp matcha powder

** this recipe is adapted from Martha Stewart’s Swiss Meringue Buttercream Frosting, found here and from this awesome recipe from Heidi’s Mix. 

Place the egg whites, cream of tartar, and sugar in a stainless steel mixing bowl whisk briefly. Transfer the mixing bowl to a double boiler and stir, stir, stir until the mixture is nice and hot. Once the sugar is dissolved and the egg whites feel hot it is time to whisk the mixture until it forms stiff peaks! This should take about 5 minutes. Once you’ve gotten to stiff, glossy peaks and the mixture has cooled down it is time to add in the butter slowly (1 tbsp at a time). Dissolve the Matcha powder in a little bit of powder (the same way you’d dissolve corn starch before putting into a soup), then fold the Matcha into the mixture. 

To assemble and enjoy:

Pipe the green tea swiss meringue buttercream (I really just like how fancy that sounds…) onto one macarons shell, top with another shell, then sift some left over matcha powder on top. Take copious amounts of pictures so you can stare at them later, then devour them with friends and family (or all by yourself)! 


Kale Salad with Oranges and Strawberries

Hello everyone!

I can’t believe it’s been almost two weeks since my last post. I’ve been cooking and playing around in the kitchen as usual, but haven’t had the time to share my experiences with you. Things have been just a little bit hectic around here recently (and are about to get slightly more hectic!)

In Ken’s lunchbox for tomorrow, I’ve prepared a Kale salad! A very good friend of mine made me a version of this salad once, and I’ve loved it every since then. It is simple to prepare, and super tasty — Thanks, Hannah Strong! Here we go…

Wash and cut the stem off of 6-10 kale leaves. Dry off the leaves with a paper towel or in a salad spinner. Cut the leaves into roughly 1-inch pieces. Combine about 1/2 a tablespoon of olive oil with the juice of 1/2 a lemon. Pour the mixture over the kale leaves. Season the salad generously with salt. Next, cut a navel orange into 1/2 inch cubes and throw them into the mixture. Chop up some strawberries and throw those in too!

kalesaladbig

This is probably one of the easiest things in the world to make, but it is super delicious! I usually don’t like raw kale because of it’s bitter taste, but the fruit in this salad really rounds that off.

Anyway, I’ll be back sometime this week with some cinnamon buns! I made the a week ago, but never got a chance to post about it.

Happy early Monday!